 |
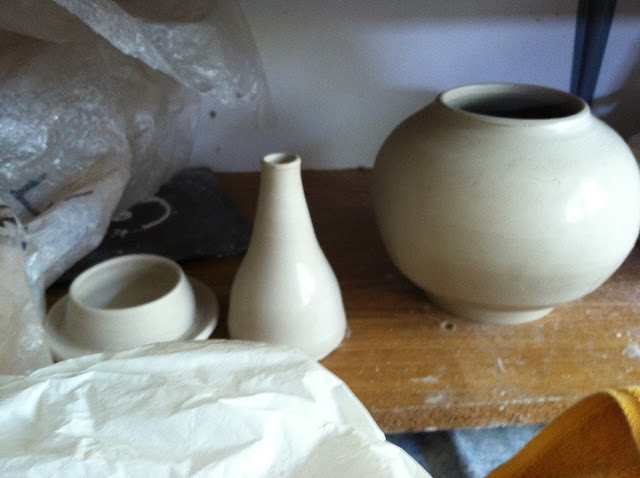
| Three of the 4 parts of a teapot |
 |
| The handle is also thrown, as a big circle of a closed tube that is a circle in cross section. It takes the longest to dry, having just one hole for gas escaping during firing. |
 |
| Making sure the handle and spout line up is crucial |
 |
| A few changes were made to the bees. I worried that those black eyes might run, so took them back to just an outline. |
I need to practice much more on this technique, but for my first try, I learned a lot!
I do plan to go back and smooth a bit more of the surface around the bee design.
Quote for today:
While you are proclaiming peace with your lips, be careful to
have it even more fully in your heart.
St. Francis of Assisi
SWEET looking teapot :) I throw my teapot handles too, and showed one on my blob today! I throw them solid, though.
ReplyDeleteThanks Gary...glad you like it, as I do yours!
Deletegreat demo, how do you get the handle to stand up? and where is your hole for the air to escape ?
ReplyDeleteThe use of a hollow handle when it's leather hard means it will stand pretty well by itself...the hole is on the inside right about where you'll hold it on the opposite side from spout. Wish I'd put it somewhere else now.
Delete